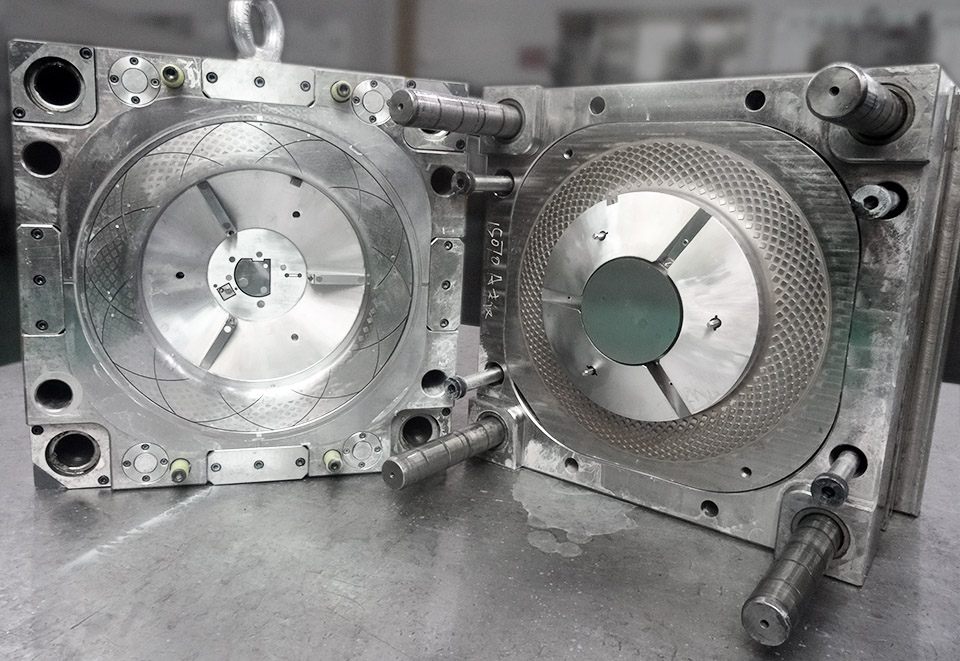
Nothing kills the vibe of a beautifully designed product faster than a mysterious dent, a shiny circle or a weird little line running across the middle of your housing. If you have ever wondered why that otherwise-perfect injection molded part has a visible split line or an odd shadow near the corner, welcome to the world of mold engineering. It is not always glamorous, but it is where a lot of the final product's appearance is won, or lost. When we move from [design to tooling](/process), reality sets in. The beautiful shapes you envisioned now have to be produced in a mold that is filled with molten plastic, splits open and pushes the part out without breaking it. Every parting line, ejector pin and mold surface finish has consequences. So let's walk through the main causes behind those visible features, and how we at Production Heroes apply smart engineering to keep them under control.
Split happens
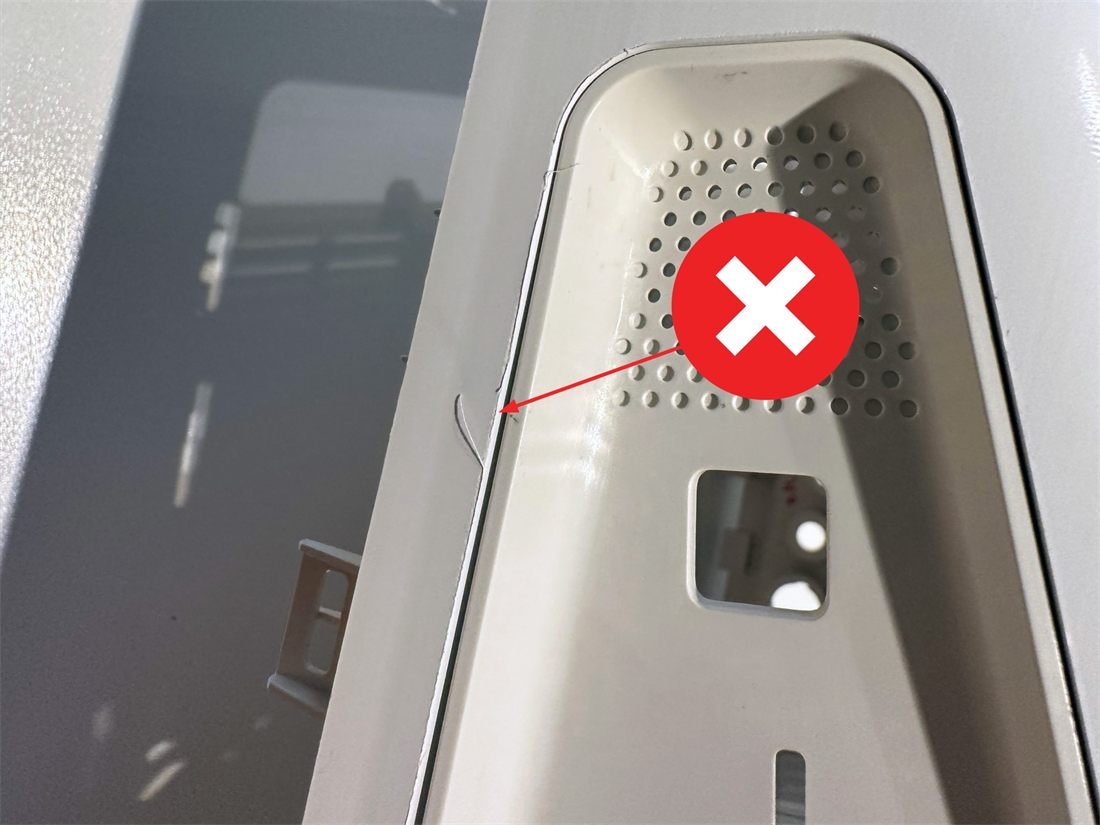
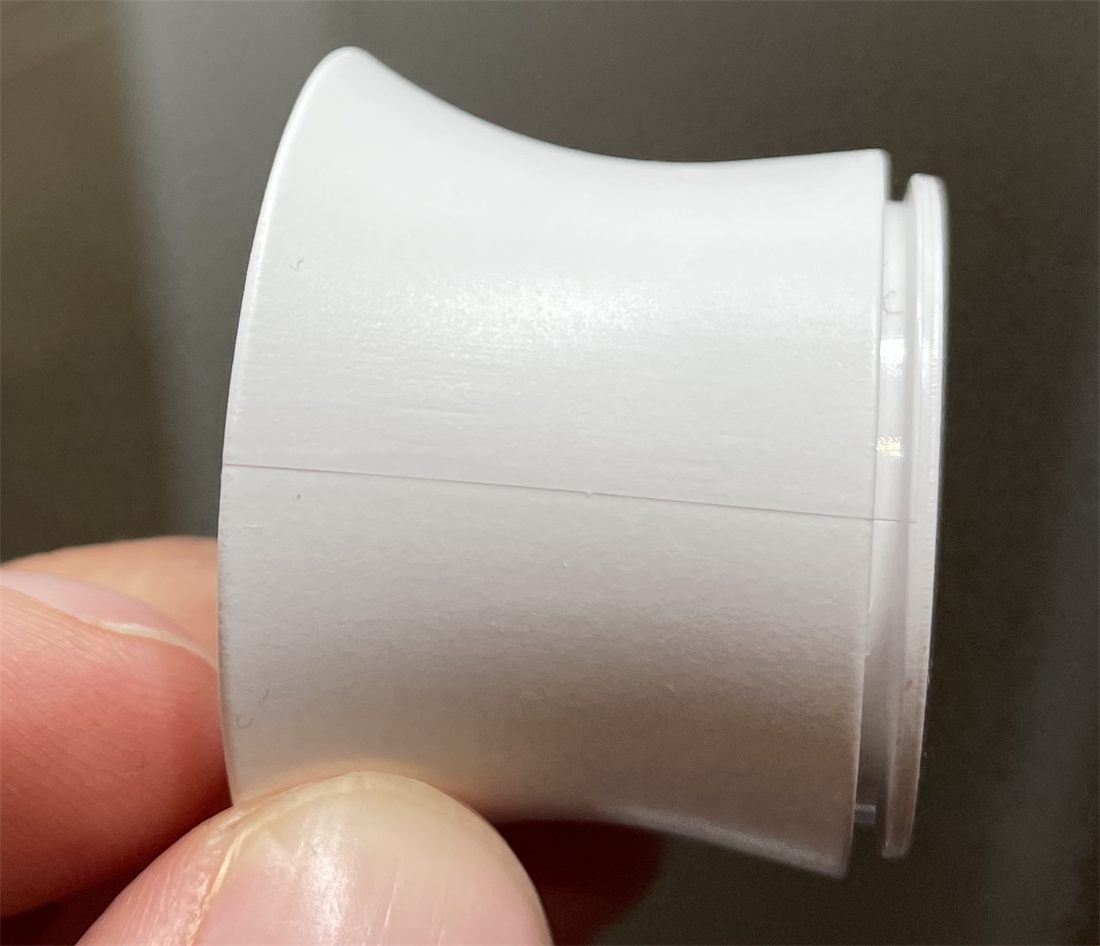
Split lines (also called parting lines) are where the two halves of a mold meet, and unfortunately they like to announce their presence. You will often see them as fine seams along the edge of your part. They are unavoidable, but they can be cleverly hidden by placing them along sharp edges, recesses or any area that is already part of the geometry. At Production Heroes we design parts with these lines in mind from the very first sketch. Want them at the back of the product? No problem. Want them aligned with other features so they look intentional? Consider it done.
That little nipple? It is an injection gate
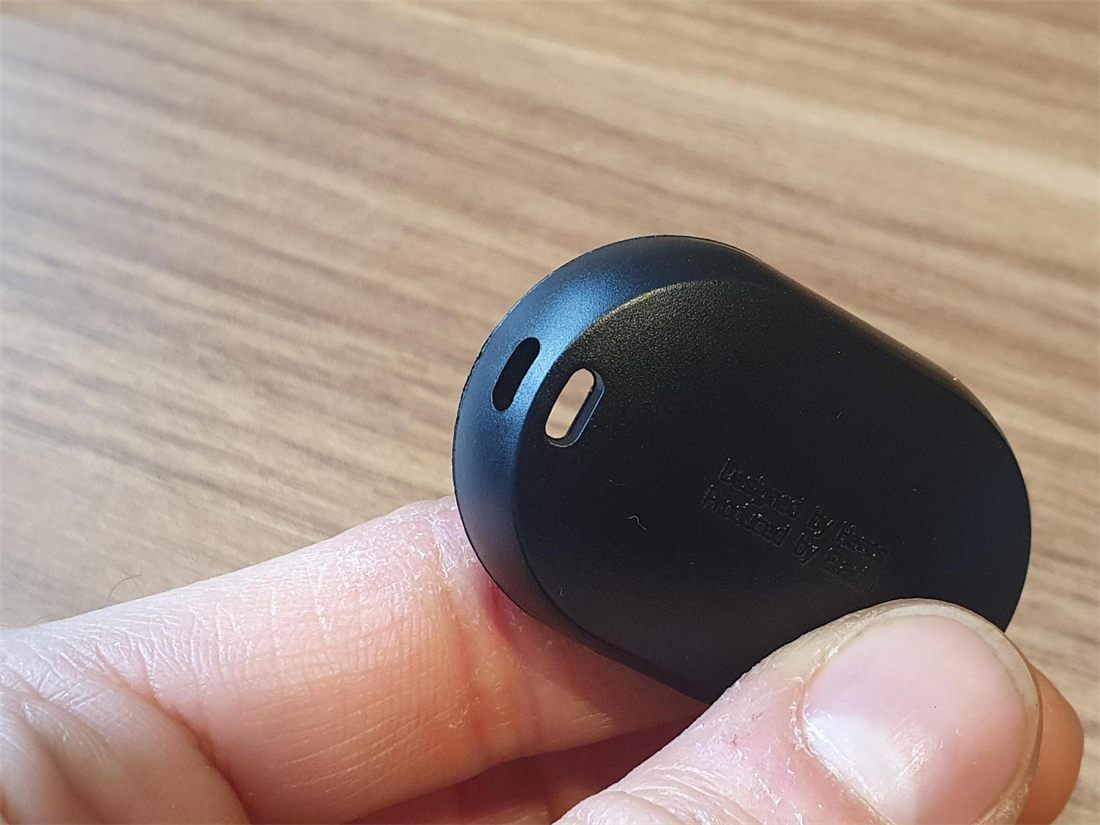
You know those tiny, slightly raised dots that make a part look like it has a pimple? That is the injection gate: the point where the plastic entered the mold. Some gates leave nearly invisible marks, others are more obvious. The type of gate (pin gate, edge gate, tunnel gate and so on) and its position affect both the surface finish and the way the material flows. Ideally you want these points on the inside of the product, or in an area that will not be visible. We help clients make the trade-off between part quality and gate location. Placing the gate correctly also helps to reduce warpage and improve how well the mold fills.
Ejector marks: the polka dots of plastic parts
Once your product has cooled down in the mold, it does not simply hop out on its own. Enter ejector pins: small metal rods that push the part out. They leave small circular marks, often visible on the inside of parts. You cannot eliminate them entirely, but we can place them in areas that are less visible, or hidden behind labels, rubber feet or battery covers. For high-end products we can use custom ejection systems to minimise their appearance. And if your product needs to look like it was machined from solid material, we treat those areas as aesthetic zones from the start.
Sink marks
Sink marks occur when thick areas of plastic cool and shrink unevenly, usually near ribs, bosses or thick walls. The result is a dent or shadow that looks like someone pressed a thumb into the part. They are preventable with smart design: use thinner wall sections, add coring to reduce thickness, and stagger ribs and bosses to spread out the heat. Bonus: these tricks do not only improve the appearance, they also shorten cooling times, which means faster cycles and cheaper parts. At Production Heroes we always take the specific type of plastic into account (out of the thousands available), since each one comes with its own quirks, behaviour and technical requirements when it comes to preventing sink marks.
Flow and weld lines: where plastic meets itself
Flow lines appear when molten plastic cools at different rates while moving through the mold, leaving streaks or subtle discolorations. Weld lines (or knit lines) form where two flow fronts meet and do not fully fuse. You will often find them near holes, notches or complex geometries. They can be purely cosmetic, but sometimes they are structural too. The solution: adjust the gate location, tune the flow speed, or move to a better (read: more expensive) material. Or call us. We have done our fair share of weld-line detective work.
Surface finish: glossy, matte, or fingerprint magnet?
The texture of your mold has a direct impact on how your product looks, how it feels and how many fingerprints it attracts. Want a high-gloss finish? Prepare for a highly polished (and pricey) mold. Prefer a soft-touch matte? A sandblasted or EDM finish does the trick. Keep in mind that different finishes show wear and defects differently, so choosing the right one is not just an aesthetic decision, it is a strategic one. We help clients pick finishes that match the product's use case, the brand image and the realities of manufacturing.
Shrink and warp: the unwanted afterparty
Even after everything has been engineered perfectly, molten plastic still has the final say. As it cools it shrinks, and not always predictably. That shrinkage is not uniform, and when different areas of a part cool and contract at different rates, the part can warp. Suddenly your straight, flat panel starts to resemble a potato chip. Warping is most often caused by uneven wall thicknesses, poor gate placement, a lack of symmetry or insufficient draft angles, but it is also influenced by the geometry of the part and how it is oriented within the mold. Long, thin parts and large flat surfaces are particularly vulnerable. Material choice plays a big role as well: some plastics are more prone to warping because of higher shrinkage rates or internal stresses during cooling. What worked fine in ABS can warp dramatically in polypropylene. To avoid these headaches we carefully balance wall thickness, add structural ribs, optimise gate positions and ensure even cooling through smart mold design. On top of that we use simulation software to predict warpage before the mold is built, and our engineers have seen more plastic war stories than they care to admit.
Custom colors: the art (and pain) of matching plastic
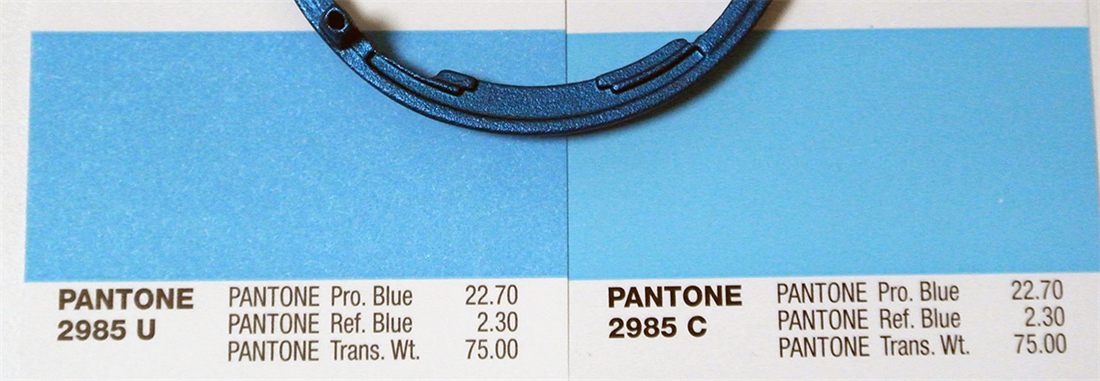
Picking a Pantone or RAL color on paper is one thing. Getting that exact hue on a real injection molded part is another story entirely. Plastic is not paper, and color perception changes with wall thickness, gloss level, texture and even lighting. That dreamy soft mint green that looked great on paper can look like expired toothpaste on a shiny ABS part. We always work with a masterbatch (a custom color pigment mixed into the base material), but even then trial and error is part of the process. Off-tool samples are crucial for checking color accuracy in real life. Need a perfect brand match? We help you work with suppliers to fine-tune the formula, adjust the surface texture and run those all-important test shots, until your product looks exactly as it should, and not like it just got back from a week in the sun.
Pretty parts can be pricey
Here is the trade-off many people do not expect: decisions that improve how a part looks can have a major impact on what the mold costs. Want the split line hidden on the underside instead of running across the top? That may require a more complex tool with moving parts such as sliders, lifters or collapsible cores. Want no visible ejector marks? Then we may need a larger mold or an unconventional ejection setup. Want ultra-fine surface textures or a mirror polish? Get ready for polishing grades that cost more than your prototype run. On the flip side, clever compromises on part aesthetics can sometimes reduce tooling complexity, and price, by thousands. The art is in balancing beauty, function and budget without losing the soul of your product and brand.
Ready to design with the mold in mind?
We believe good design does not fight the mold, it works with it. From split lines and sink marks to ejector pin placement and shrinkage prediction, we help you make smarter decisions before the tool is ever made. Because nobody wants to discover an ugly weld line after 10,000 parts have been produced. Molds do not forgive or forget design flaws, but we can help you avoid them altogether.
Planning your next injection molded masterpiece? Let's make sure it comes out looking exactly as you intended. Contact us by phone, through our online form, or simply send an email to [contact@productionheroes.nl](mailto:contact@productionheroes.nl).